
After seeing Khloe Kardashian & Lea Michelle rocking the Ombre look this season. I was dying to get my Ombre fix & try out this wild look.
I did look at getting this done professionally, however it's ridiculously over priced. It comes in at around £70-£80+.
(Imagine all the MAC lipsticks I could have with that $$$)
I really fancied something different for the summer season & as my hairs so dark it would be very hard to lift it all to a light brown tone, so I decided this was the perfect compromise!
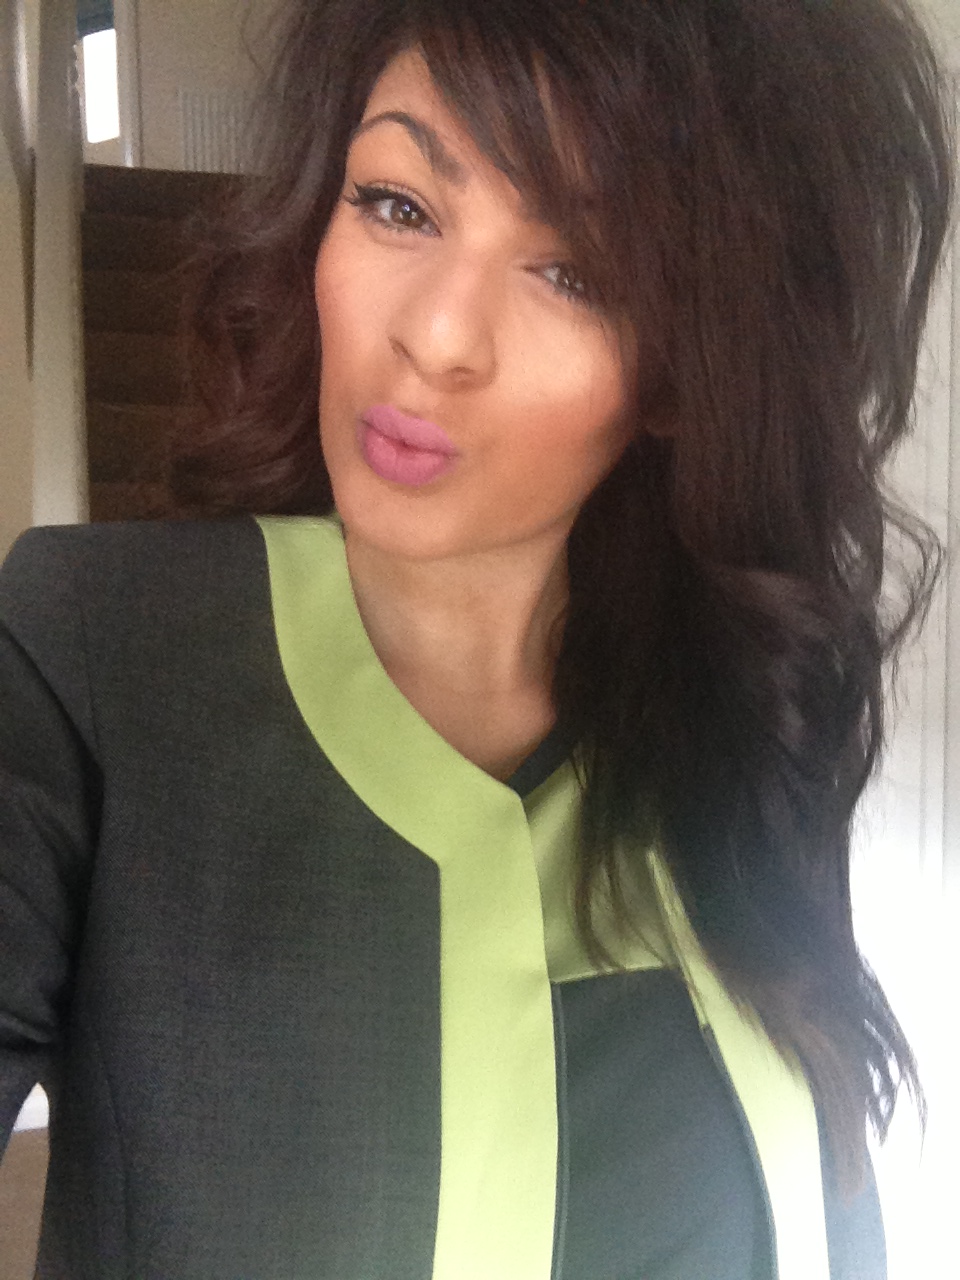
(My uniform is the loveliest colour.. right?)
As you can tell from the picture my hair is of a medium/dark brown.
This is my natural colour.
Now my Mum would have gone stir crazy if she knew I was taking matters into my own hands & using a home dye kit.
(Good job shes away on holiday...isnt it?)
I decided to misbehave, isn't that what parents going away is designed for?
The Loreal Ombre Kit comes in a variety of shades for different toned hair, the different kits provide images & tips on what colour will be best for your natural tone to get the look.

I picked up Ombre No.1 from my local Boots store for £6.99
(A LOT cheaper than the robbing highstreet salons!)
With my nerves in full swing I decided enough was enough & it was time to crack on with it!
But how hard it be?
(I always make a mess of everything!)
When opening the box it comes with Christopher's top ombre tips. where it lists different styles & where you should start your dip dye depending on the length of your hair.
Everyones differs, I have layered hair & was suggested to start at my layers to enhance them.

(The bottom right hand image was the method I decided to go with)
The kit comes with a small comb which makes it very easy to create a blended look from 3/4 of the way down the hair.

(such a messy room...sorry!)
You simply add the dye to the comb & section your hair completely in half at either sides of the face.
After parting your hair evenly. It's time to get the messy bit done & mix together the ombre!
You take the Preference Developer creme bottle & remove the lid carefully.

Step 1
Firstly you add the lightening powder to the creme.

This is a very small light white powder very similar consistency to talc & it gets everywhere so make sure you've got down an old dark towel.
(To avoid the raft of an angry mother & a stained carpet)
Step 2
Add the lightening creme.

This is a metal tube that consists of thick creme that has the strong typical hair dye smell.
(Makes my eyes water)
After squeezing the entire tube away & rolling it down like the end of a toothpaste tube.
Step 3
Finally apply the nozzle to the top of the developer creme applicator tightly.
Start shacking the mixture horizontally by rolling it in your hands.
(shaking vigorously can cause the mixture to raise to the top of the nozzle & explode out of the top when the tiny nozzle is removed)
Step 4
Twist off the tip of the applicator & squeeze the mixture into the brush until all the bristles are covered.
Start the application by brushing the dye on to dry unwashed hair from the length down your hair you've decided
&
blend it accurately making sure you've covered both outer and inner sections of the hair.

Once you're happy with the amount of hair thats covered repeat it on the other side of your hair.
Once you've got the accuracy right on both sides, squeeze the excess in the bottle into the palms of your hands wearing gloves
&
apply the mixture heavily & evenly to the ends.
I decided to leave a little of the dye left in the bottle in case of a second application.

After applying the mixture to the ends take the ends of your hair & tie them together at the font of your face below your chin.
(yes you do look very strange, but it makes it a little fun!)
&
pop your ends into a carrier bag whilst the dye develops.
(this gave me chance to wash all the dye off my skin.. ouch!)

(This just clearly is to make the dying a little more fun..)
You are advised to leave the dye on for 25 to 45 minutes.
I wasted this amount of time listening to a mixture of beyonce classics & blurred lines on repeat..

I decided to leave my dye on for the maximum recommended time of 45 minutes. I rinsed away the dye with warm water, before shampooing I wanted to be sure on the raised colour.
Unfortunately I wasn't overly thrilled with the colour that my hair had bleached up to.
So I gave my locks a 15 min rest.
(after all.. aint no rest for the blessed..)
Before tackling the dye again, this time because the bleach was already blended and was clear to see.
I added the mixture to the palms of my hands & slapped the dye on again for a further
45 mins.
(Yes.. I'm surprised I have any hair left, guess this is the thick haired blessing..)
I washed away the dye this time properly & used the conditioner that came with the kit, which actually left my hair very soft.

FINALLY..
after the second application I was very happy with the colour I ended up with.
&
it turned out surprisingly even, I did doubt myself & wondered if id manage to get all even.

Heres the finished look
on the following morning rocking my work uniform for you guys.
I was very happy with the colour and the height of ombre.
....
Was this kit easy to use?
Yes it was very easy to use the applicator brush made it simple to apply the dye evenly & accurately to both sides.
Would you recommend this?
Yes definitely, the key to using this product is having confidence in yourself & concentrating to make it even on both sides.. after that you're away!
Will you be rocking the ombre for the summer?
No comments:
Post a Comment